
 Store
Store- Home
- Product
Wireless Microphone Shotgun Microphone Audio Interface&Mixer Studio Microphone Handheld Microphone Wired Microphone Accessories
View All
-
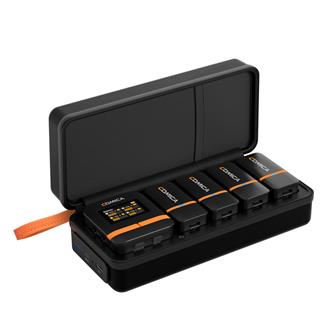
Vimo Q
Four-channel Mini Wireless Microphone
-
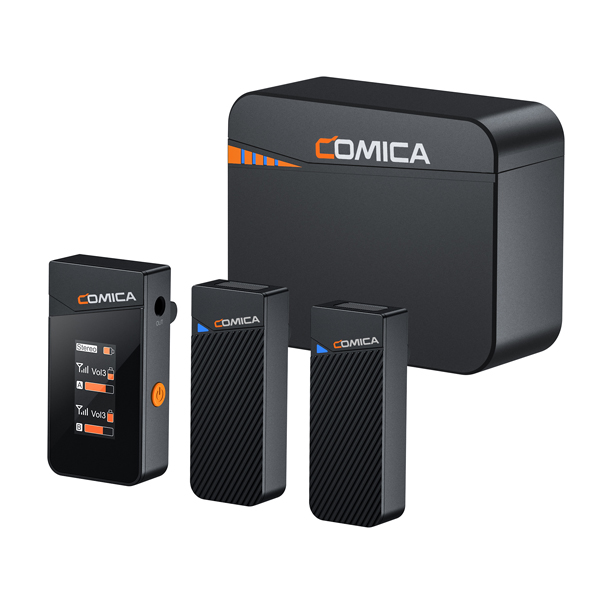
Vimo C
2.4G Dual-channel Mini Wireless Microphone
-
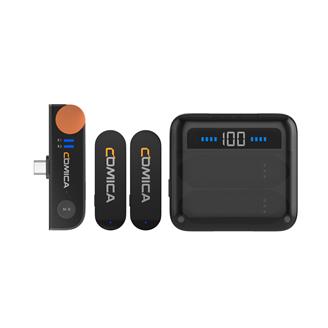
Vimo S UC
2.4G Dual-channel Mini Wireless Microphone
-
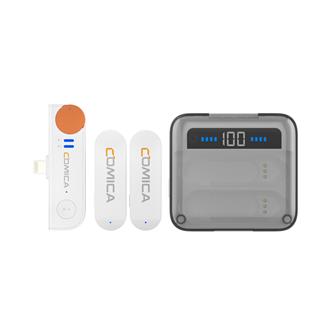
Vimo S MI
2.4G Dual-channel Mini Wireless Microphone
View All
-
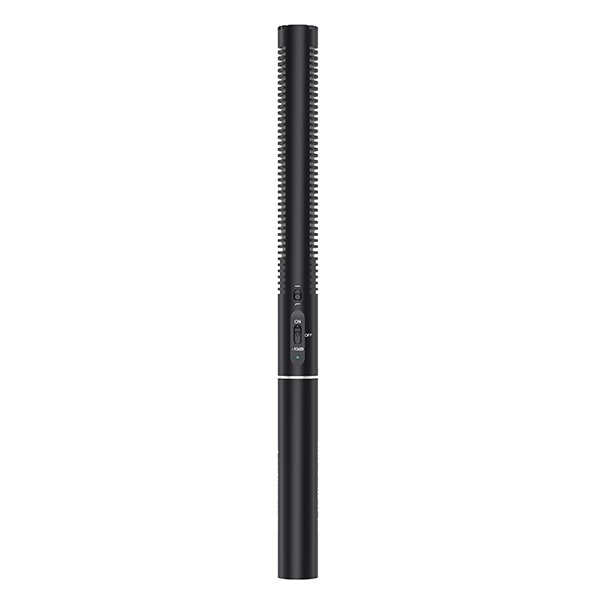
VP3
Super Cardioid Condenser XLR Shotgun Mic
-
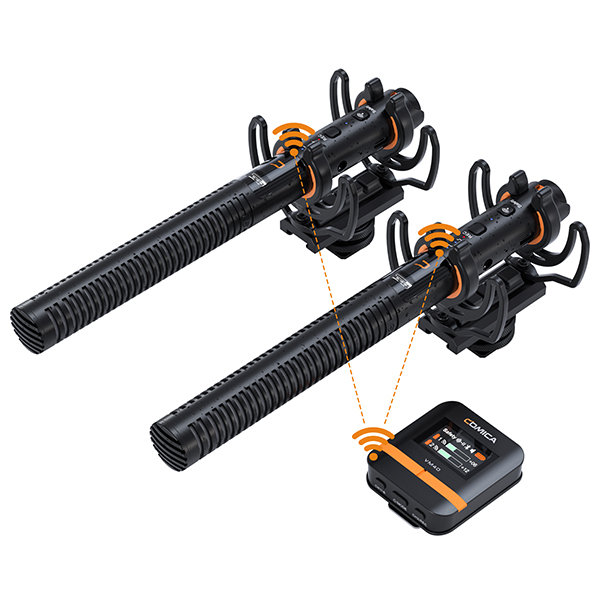
VM40
Super Cardioid Dual-Channel Wireless Shotgun Microphone
-
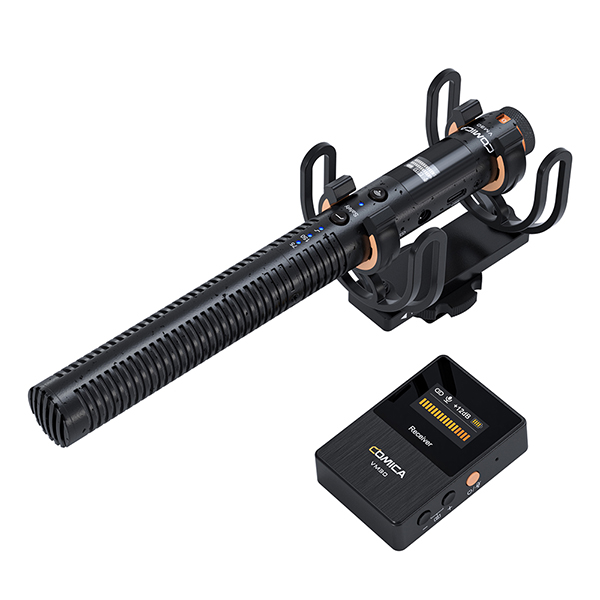
VM30
2.4G Super Cardioid Condenser Wireless Shotgun Microphone
-
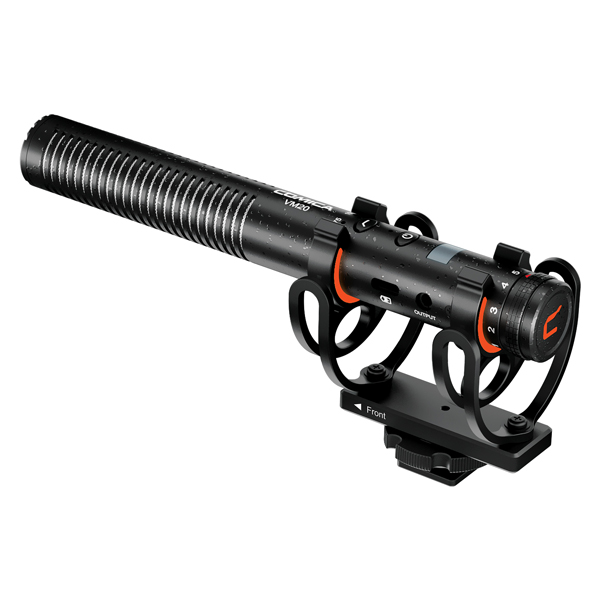
VM20
Multi-Functional Super Cardioid Condenser Shotgun Microphone
View All
-
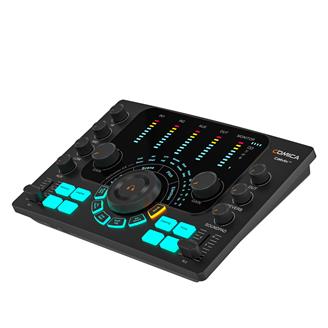
ADCaster C2
Podcasting/Recording/Streaming Multi-functional Audio Interface

-
ADCaster C1-K1
Streaming/Podcast Audio Kit
-
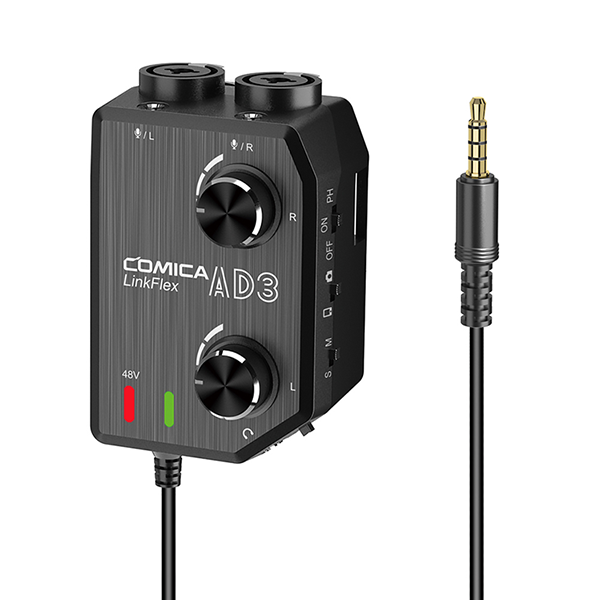
LinkFlex AD3
Two-channels XLR / 3.5mm / 6.35mm Audio Preamp Mixer / Adapter / Interface for Camera and Smartphone
-
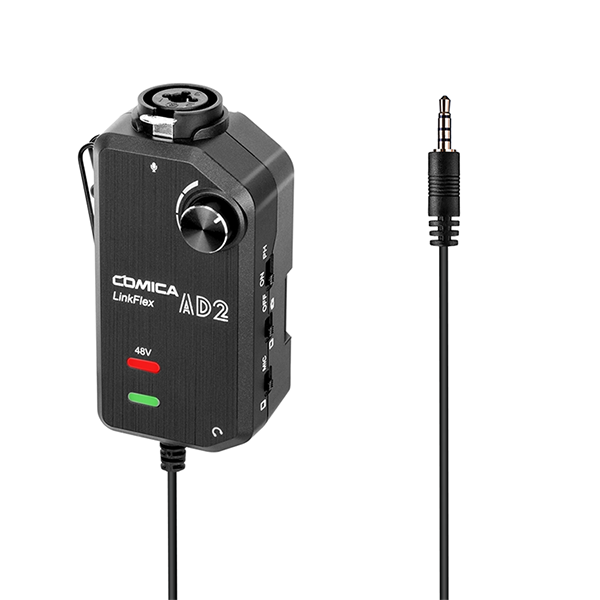
LinkFlex AD2
XLR/6.35mm Audio Preamp Adapter/interface for Camera and Smartphone
View All
-
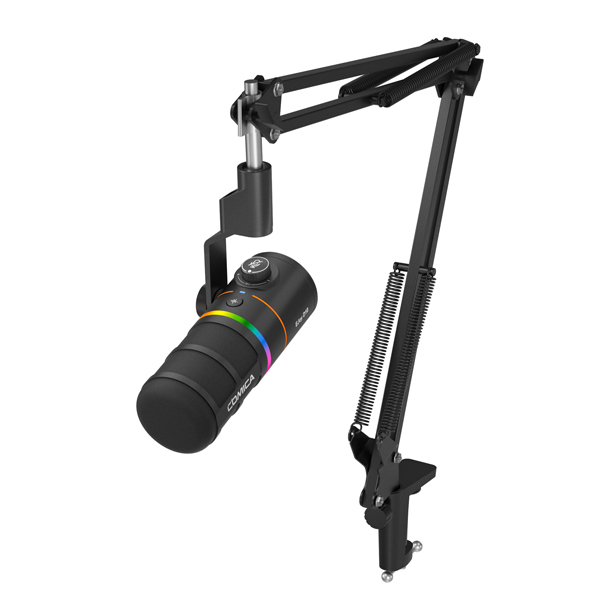
EJoy D10
RGB Cardioid Dynamic Microphone

-
EJoy D10 PRO
RGB Cardioid Dynamic Wireless Microphone
-
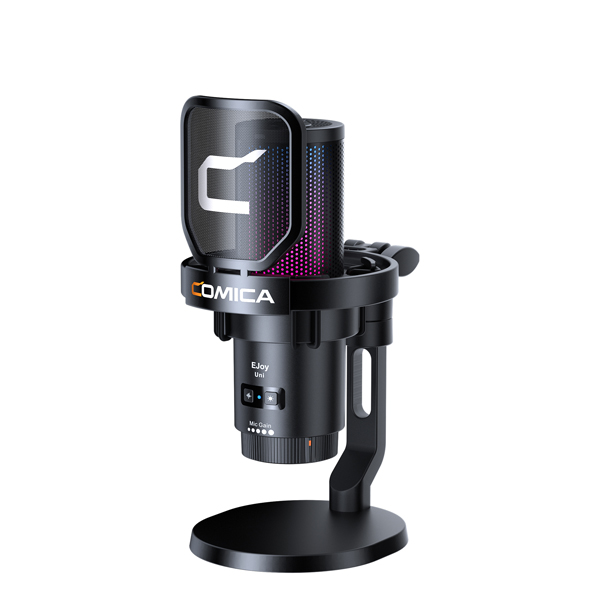
EJoy Uni
RGB Cardioid Condenser USB Microphone
-
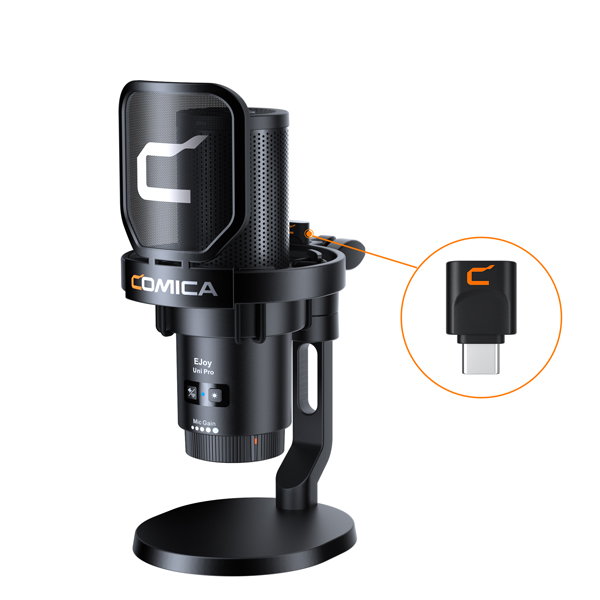
EJoy Uni Pro
RGB Cardioid Condenser Wireless USB Microphone
View All
-
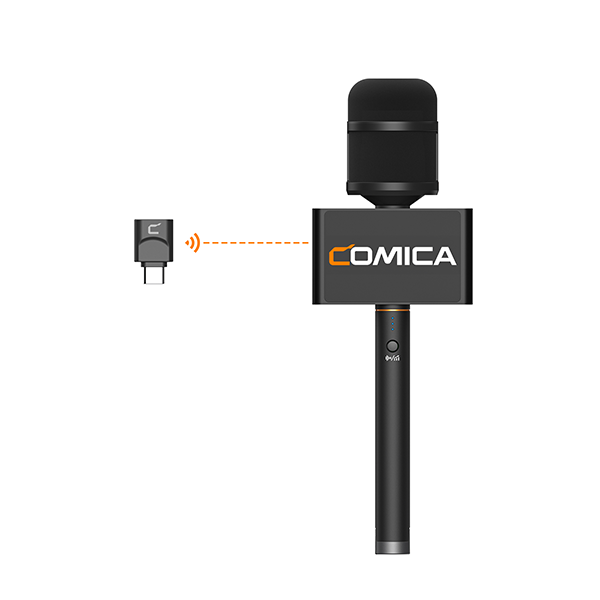
Revo S
Wireless Reporter Microphone for Smartphone
-
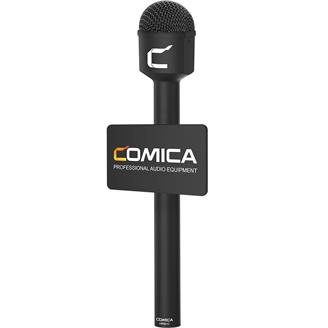
HRM-C
Omnidirectional Dynamic Reporter/Interview Microphone
-
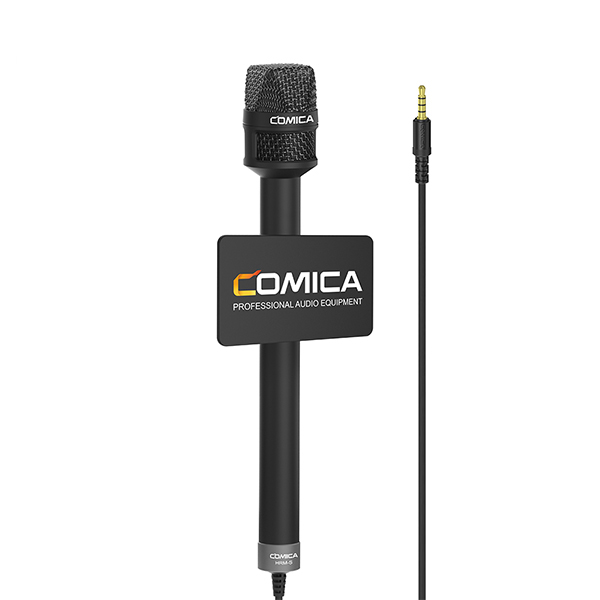
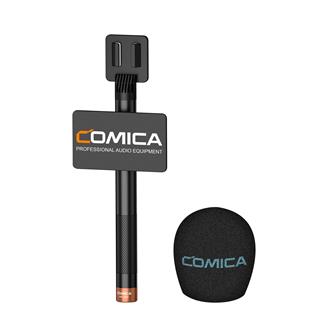
HRM-S
Reporter/Interview Microphone for Smartphone
-
HR-WM
Handheld Adapter for Wireless Microphone
View All
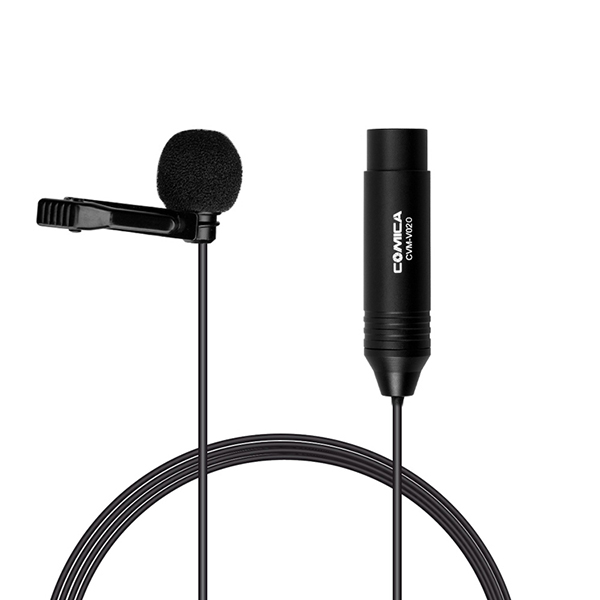
-
V02O
XLR 48V Phantom Power Lavalier Microphone

-
V02C
XLR 48V Phantom Power Lavalier Microphone
-
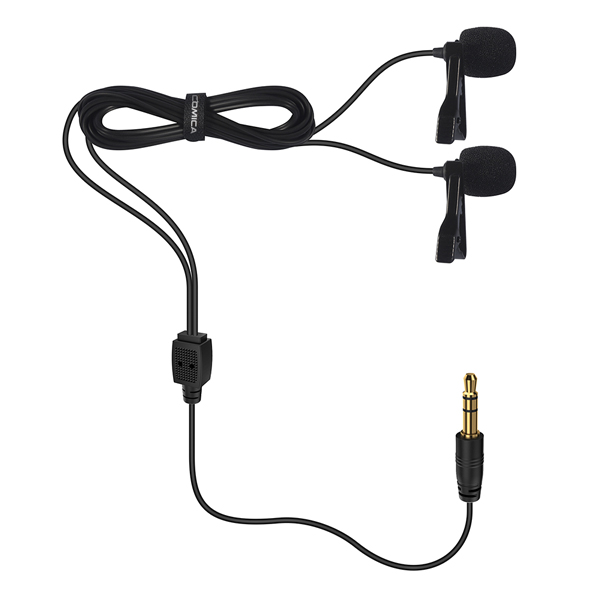
D02
Dual-head Lavalier Microphone for Camera, Camcorder, Smartphone, GoPro
-
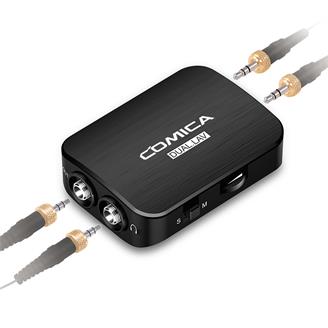
DUAL.LAV D03
Dual-head Detachable&Multi-functional Lavalier Microphone (For Camera, Smartphone)
View All
-
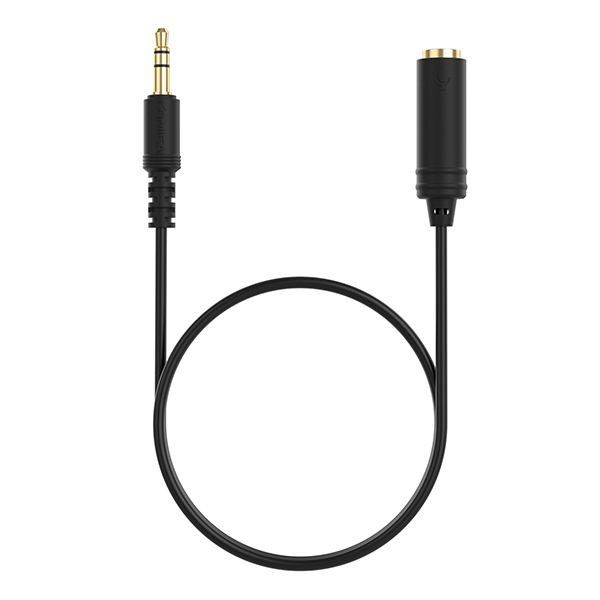
CVM-CP-CPX(3M)
3.5mm TRS-TRS 3M Extension Audio Cable
-
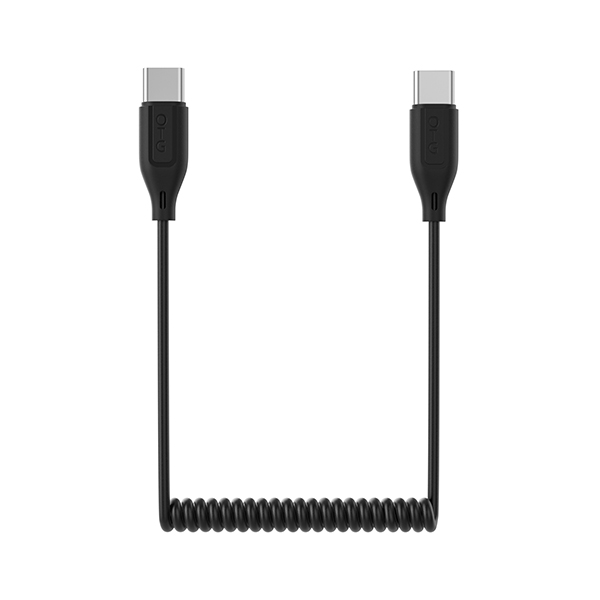
UC-UC
OTG Audio Cable
-
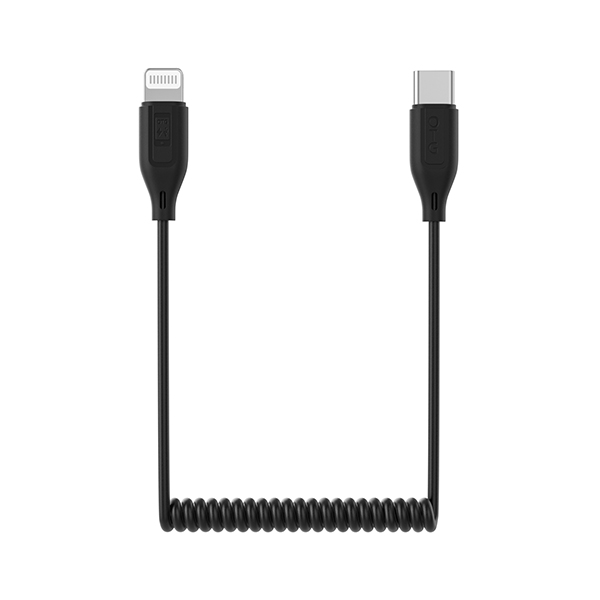
UC-LN
OTG Audio Cable
-
UC-LN(2M)
2M OTG Digital Audio Cable
- Support
- Contact Us
- Explore
- Where To Buy
- App

Vimo S Operating Guide
|
|
|

|
|
|

|
|


|
|
|

|
|
|
|
|

|
|

|
|
|

|
|

|
|

|


|